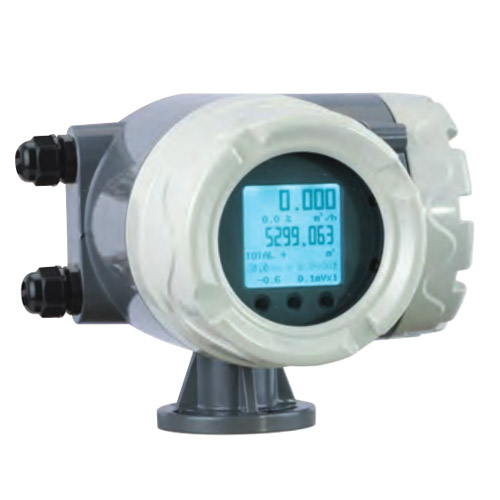
1. The plug-in electromagnetic flowmeter requires that the user's pipeline should be set horizontally, with at least 5DN in front of the sensor and at least 3DN in the back. The flow regulating valve should be located 3DN downstream of the sensor. The pipeline should vibrate obviously, and the inner wall of the pipeline should have no obvious unevenness.
2. First, open a Ф60-62mm hole just above the pipe measurement point. The edges around the hole are required to be smooth and free of burrs and gas cut tumor scars.
3. Unscrew the mounting part from the sensor and reliably weld it to the above-mentioned opening. The requirement: make the lower end of the mounting part flush with the inner surface of the pipe and ensure that there is no leakage
4. Loosen the 3 locking screws of the sensor and pull out the detection rod and detection head as a whole for later installation. (Note: The user must not open the connection between the detection head and the insertion rod)
5. Wrap hemp wire lead oil or PTFE tape on the upper thread of the mounting part, and then tighten the ball valve together with the sealant locking mechanism on it.
6. Slowly insert the detection rod from above, tighten the lock nut slightly, press down the insertion rod to measure the same size as the recorded L2, and the installation is complete.


 English
 中文简体
中文简体 русский
 España